折腾:
【未解决】在Win中的虚拟机中macOS中部署iOS的自动抓包
期间,继续去调试项目。
此处遇到:
Exception has occurred: ImportError
cannot import name 'ScreenshotQuality' from 'wda' (/Users/crifanli/dev/DevRoot/appcrawler/venv/lib/python3.8/site-packages/wda/__init__.py)
  File "/Users/crifanli/dev/DevRoot/appcrawler/src/common/head.py", line 27, in <module>
    from wda import ScreenshotQuality, BatteryState, ApplicationState
  File "/Users/crifanli/dev/DevRoot/appcrawler/crawlerStart.py", line 3, in <module>
    from src.common.head import *
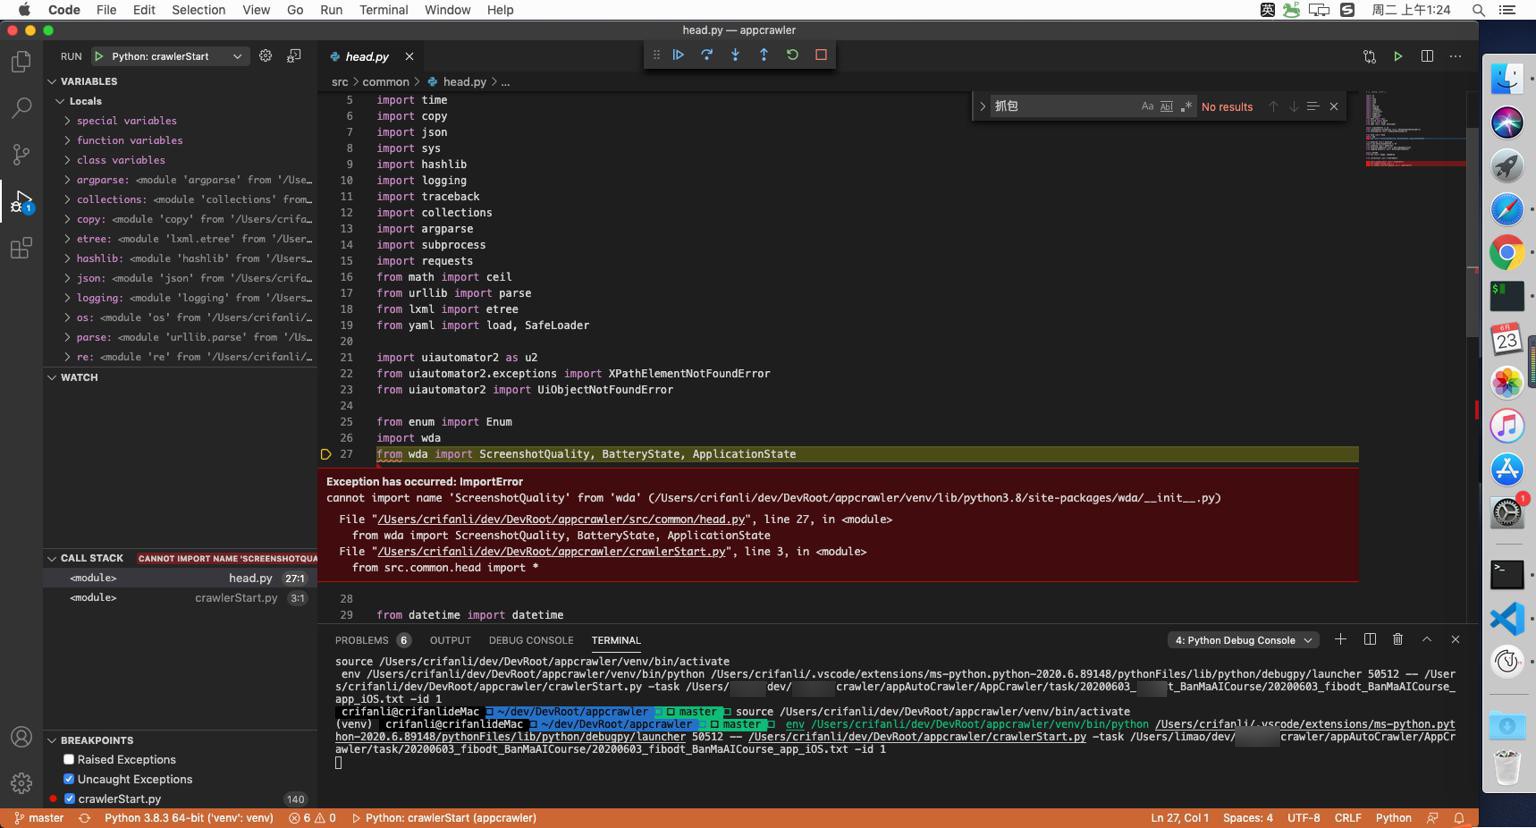
很明显是:之前自己改动后的wda没更新过来。
所以去更新过来
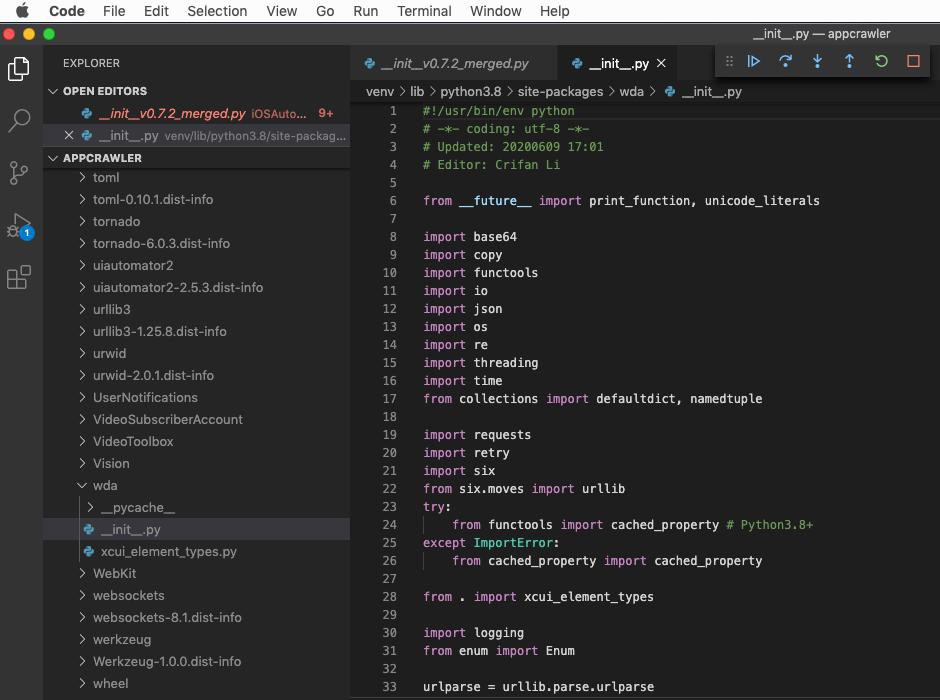
把之前0.72的optimized的wda,拷贝到
/Users/crifanli/dev/DevRoot/appcrawler/venv/lib/python3.8/site-packages/wda/__init__.py
然后继续看看,就可以了。
然后遇到:
Exception has occurred: FileNotFoundError
[Errno 2] No such file or directory: '/Users/crifanli/dev/DevRoot/appcrawler/logging/crawler_20200603_xxx_BanMaAICourse_app_iOS.log'
  File "/Users/crifanli/dev/DevRoot/appcrawler/crawlerStart.py", line 39, in set_logging
    Rthandler = RotatingFileHandler(LogFile, maxBytes=256 * 1024 * 1024, backupCount=5,encoding="utf-8")
  File "/Users/crifanli/dev/DevRoot/appcrawler/crawlerStart.py", line 148, in <module>
    set_logging(options)
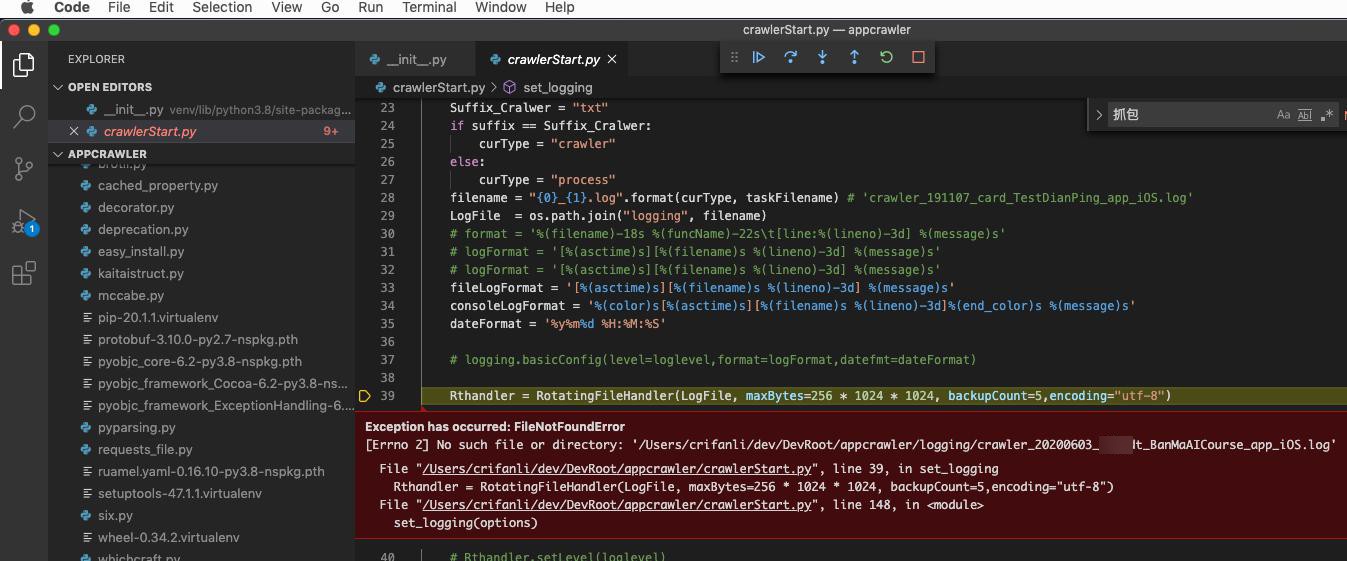
看起来是log日志文件没有创建?
原来是:
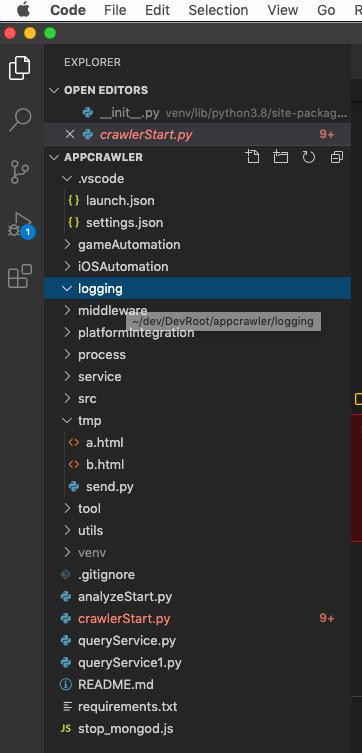
没有创建logging文件夹
去创建一个
继续:
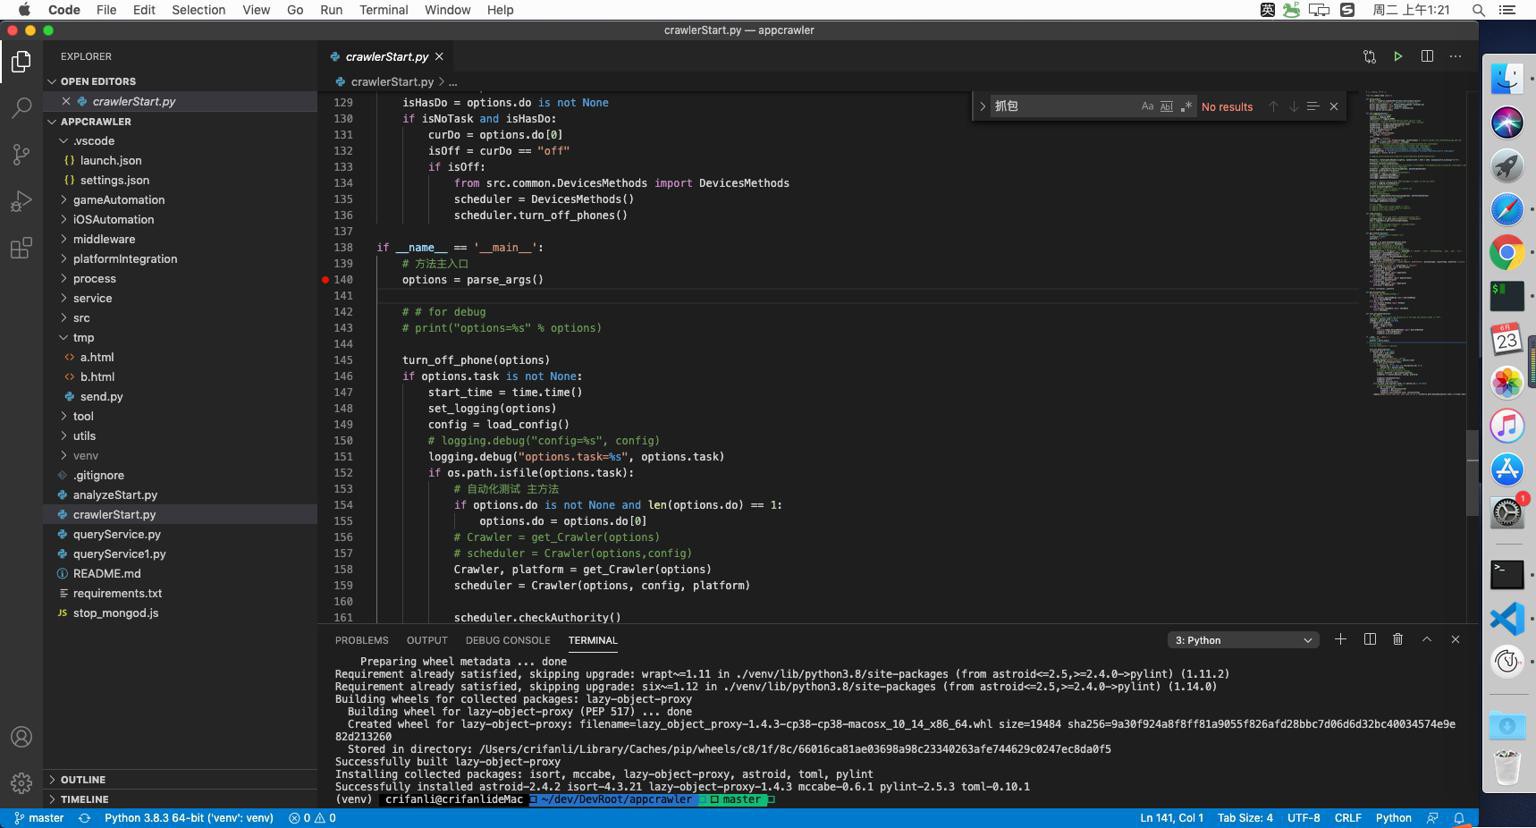
结果抓包完毕了:
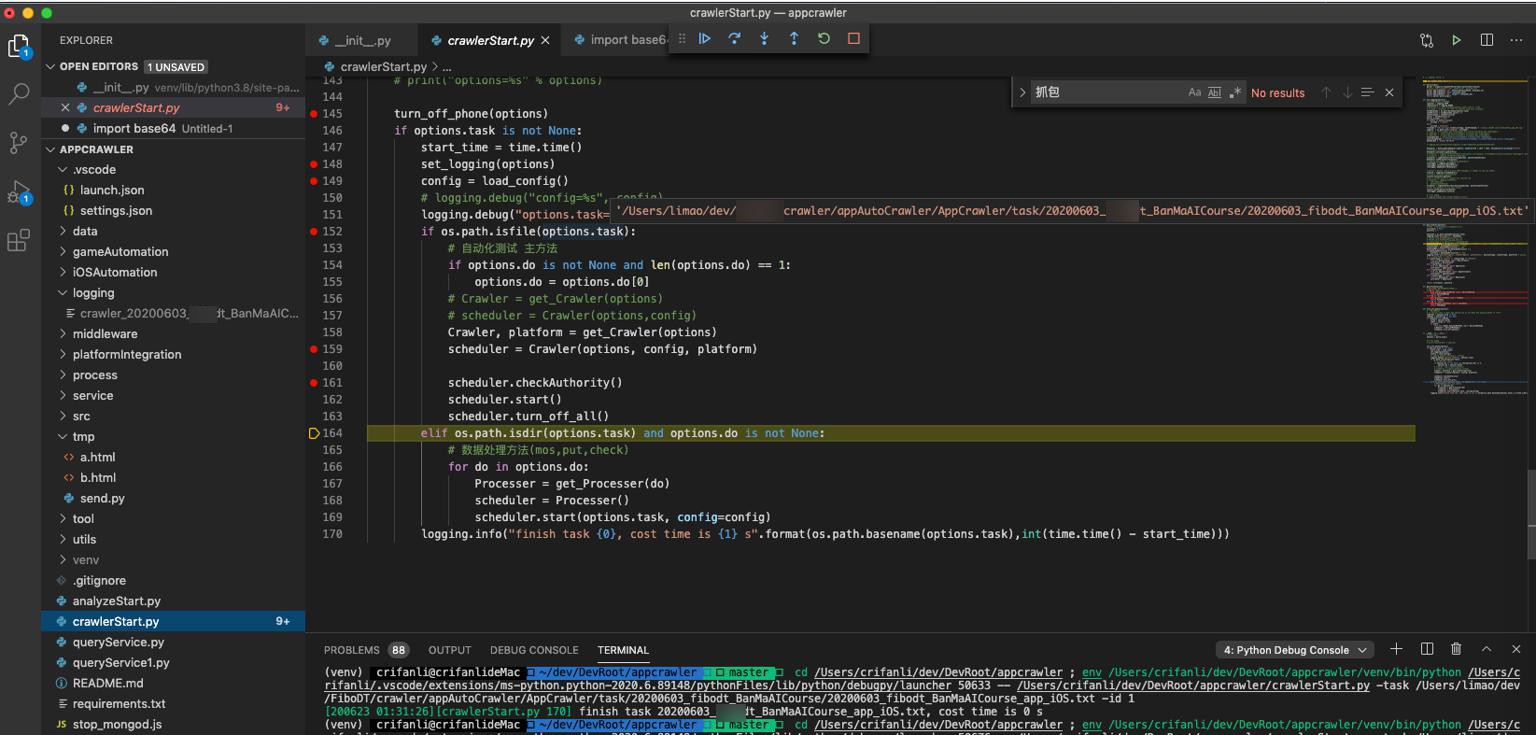
(venv) ✘ crifanli@crifanlideMac ~/dev/DevRoot/appcrawler master cd /Users/crifanli/dev/DevRoot/appcrawler ; env /Users/crifanli/dev/DevRoot/appcrawler/venv/bin/python /Users/crifanli/.vscode/extensions/ms-python.python-2020.6.89148/pythonFiles/lib/python/debugpy/launcher 50599 -- /Users/crifanli/dev/DevRoot/appcrawler/crawlerStart.py -task /Users/xxx/dev/xxx/crawler/appAutoCrawler/AppCrawler/task/20200603_xxx_BanMaAICourse/20200603_xxx_BanMaAICourse_app_iOS.txt -id 1 [200623 01:29:23][crawlerStart.py 170] finish task 20200603_xxx_BanMaAICourse_app_iOS.txt, cost time is 0 s
看来需要:故意删除data数据文件,希望:重新抓包
触发连接设备等操作,用于恢复调试环境。
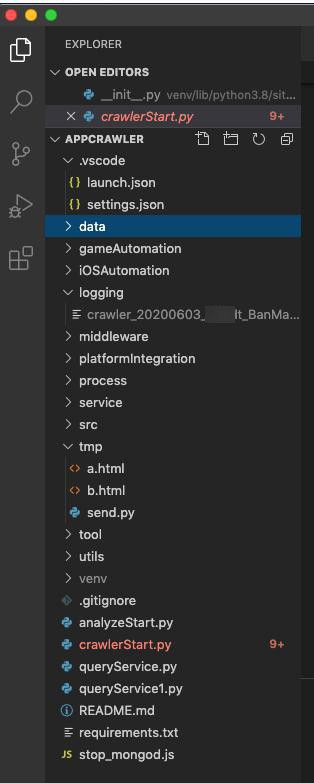
不过此处发现不对,没有data目录
所以也要去:创建data目录,然后重新调试看看
问题依旧:还是结束了。
去看看代码,好像不对。
估计此处的
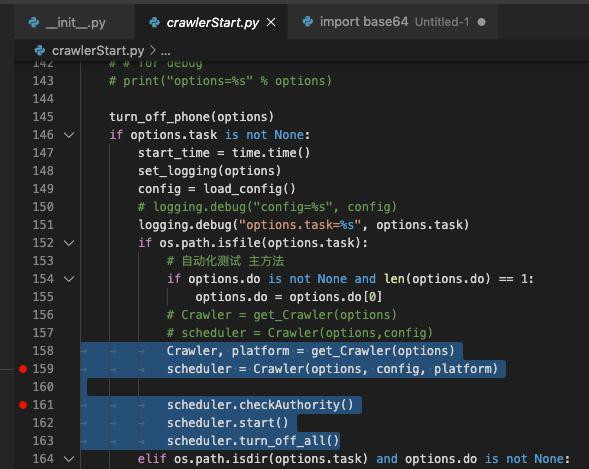
就不对。毕竟macOS中没安装必须的MongoDB
果然再次调试,都没调试到这几行。前面就报错了。
继续找找
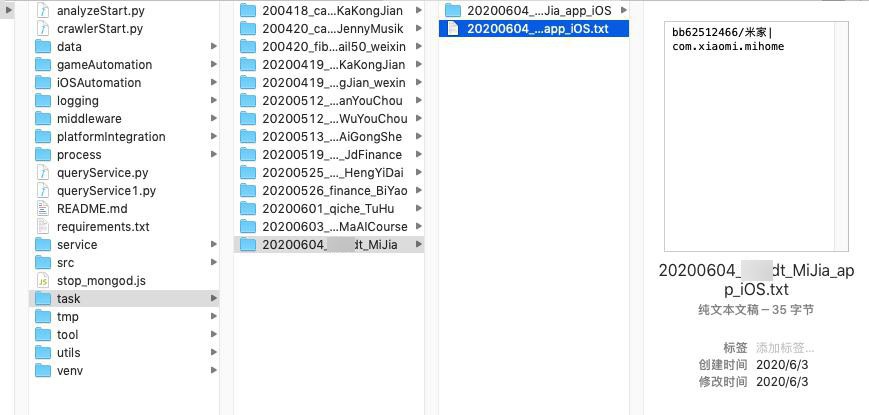
此处是task的file,根本就不存在。。。
所以:
需要去另外之前的Mac中,拷贝和恢复之前的task文件
至少也要恢复此处的单独的task文件
去公司Mac中看看task文件目录
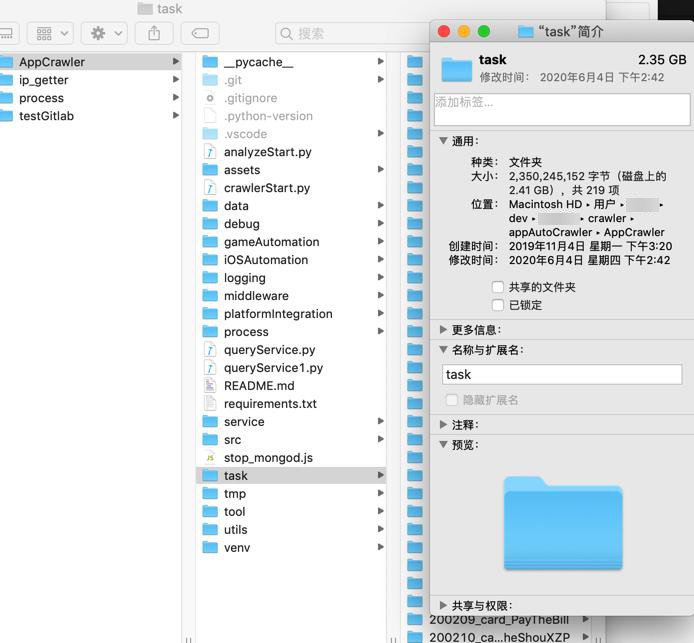
全部是2G多,太大。
所以,还是只拷贝必要的task文件即可。
发现最近新建的,iOS的,只有一个txt,很小,所以可以压缩打包过去
但是竟然:
【已解决】VMWare无法给macOS虚拟机拖动去拷贝文件
现已支持拖放拷贝文件了,所以去把(部分iOS的)task文件都拷贝过去:
然后继续调试
发现路径是旧的mac中的。
再去换成现在新的地址
/Users/crifanli/dev/DevRoot/appcrawler/.vscode/launch.json
                // "/Users/xxx/dev/xxx/crawler/appAutoCrawler/AppCrawler/task/20200603_xxx_BanMaAICourse/20200603_xxx_BanMaAICourse_app_iOS.txt",
                "/Users/crifanli/dev/DevRoot/appcrawler/task/20200603_xxx_BanMaAICourse/20200603_xxx_BanMaAICourse_app_iOS.txt",
继续,
期间,又遇到:
【已解决】VMWare中macOS虚拟机无法和主机Win共享剪切板
继续,
报错:
Exception has occurred: FileNotFoundError
[Errno 2] No such file or directory: '/Users/crifanli/dev/DevRoot/appcrawler/data/xxx/20200603_xxx_BanMaAICourse'
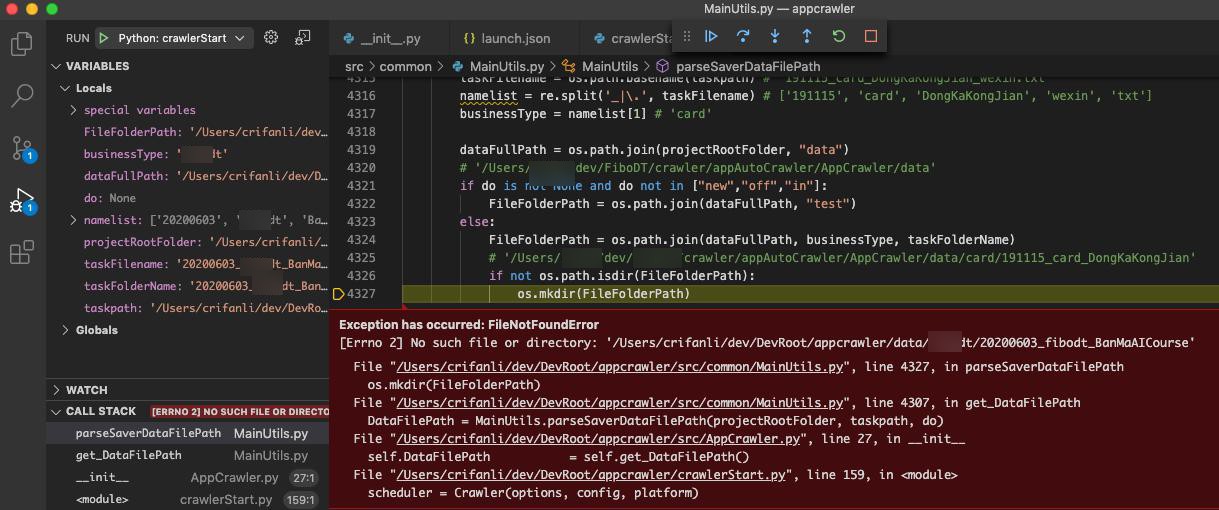
看起来像是:中的前一级目录
/Users/crifanli/dev/DevRoot/appcrawler/data/xxx
不存在,所以后续无法创建文件夹。
-》其实改为:
创建当前目录及所有层级父目录,会更好
去参考:
                # os.mkdir(FileFolderPath)
                os.makedirs(FileFolderPath, exist_ok=True)
去试试,
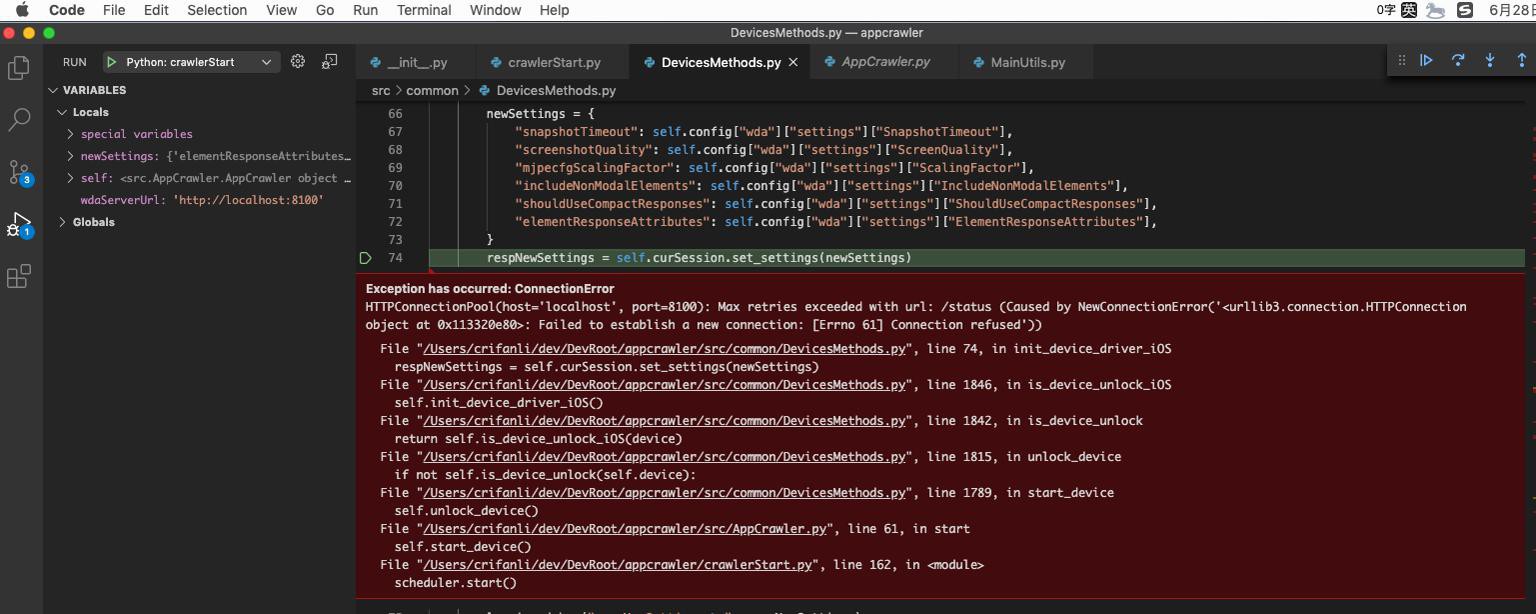
此处中间遇到检测已连接的iPhone的name:是空
因为还没连接,后续抽空再弄连接iPhone的事情
utils/mongo_dao.py
此处MongoDB没安装和运行
所以要去安装和运行,且导入MongoDB数据:
【已解决】给Win中VMWare中macOS安装MongoDB和恢复MongoDB数据
继续调试,
/bin/sh: ideviceinstaller: command not found
err=Command 'ideviceinstaller -l' returned non-zero exit status 127. when run cmd=ideviceinstaller -l
此处检测已安装的app的信息中,此处缺少ideviceinstaller
所以去安装ideviceinstaller相关工具
参考之前的
【已解决】Mac中找不到idevice_id即idevice_id not found
去安装
brew install ideviceinstaller
log
crifanli@crifanlideMac /Volumes/VMware Shared Folders/share_macOS brew install ideviceinstaller Updating Homebrew... ==> Downloading https://mirrors.ustc.edu.cn/homebrew-bottles/bottles/libplist-2.2.0.mojave.bottle.tar.gz ######################################################################## 100.0% ==> Downloading https://mirrors.ustc.edu.cn/homebrew-bottles/bottles/libtasn1-4.16.0.mojave.bottle.tar.gz ######################################################################## 100.0% ==> Downloading https://mirrors.ustc.edu.cn/homebrew-bottles/bottles/libusb-1.0.23.mojave.bottle.1.tar.gz ######################################################################## 100.0% ==> Downloading https://mirrors.ustc.edu.cn/homebrew-bottles/bottles/libusbmuxd-2.0.2.mojave.bottle.tar.gz ######################################################################## 100.0% ==> Downloading https://mirrors.ustc.edu.cn/homebrew-bottles/bottles/libimobiledevice-1.3.0.mojave.bottle.tar.gz ######################################################################## 100.0% ==> Downloading https://mirrors.ustc.edu.cn/homebrew-bottles/bottles/libzip-1.7.1.mojave.bottle.tar.gz ######################################################################## 100.0% ==> Downloading https://mirrors.ustc.edu.cn/homebrew-bottles/bottles/ideviceinstaller-1.1.1.mojave.bottle.tar.gz ######################################################################## 100.0% ==> Installing dependencies for ideviceinstaller: libplist, libtasn1, libusb, libusbmuxd, libimobiledevice and libzip ==> Installing ideviceinstaller dependency: libplist ==> Pouring libplist-2.2.0.mojave.bottle.tar.gz 🍺 /usr/local/Cellar/libplist/2.2.0: 30 files, 367.5KB ==> Installing ideviceinstaller dependency: libtasn1 ==> Pouring libtasn1-4.16.0.mojave.bottle.tar.gz 🍺 /usr/local/Cellar/libtasn1/4.16.0: 60 files, 388.3KB ==> Installing ideviceinstaller dependency: libusb ==> Pouring libusb-1.0.23.mojave.bottle.1.tar.gz 🍺 /usr/local/Cellar/libusb/1.0.23: 26 files, 467.2KB ==> Installing ideviceinstaller dependency: libusbmuxd ==> Pouring libusbmuxd-2.0.2.mojave.bottle.tar.gz 🍺 /usr/local/Cellar/libusbmuxd/2.0.2: 16 files, 190.6KB ==> Installing ideviceinstaller dependency: libimobiledevice ==> Pouring libimobiledevice-1.3.0.mojave.bottle.tar.gz 🍺 /usr/local/Cellar/libimobiledevice/1.3.0: 71 files, 1MB ==> Installing ideviceinstaller dependency: libzip ==> Pouring libzip-1.7.1.mojave.bottle.tar.gz 🍺 /usr/local/Cellar/libzip/1.7.1: 142 files, 608.8KB ==> Installing ideviceinstaller ==> Pouring ideviceinstaller-1.1.1.mojave.bottle.tar.gz 🍺 /usr/local/Cellar/ideviceinstaller/1.1.1: 8 files, 68.7KB crifanli@crifanlideMac /Volumes/VMware Shared Folders/share_macOS which ideviceinstaller /usr/local/bin/ideviceinstaller crifanli@crifanlideMac /Volumes/VMware Shared Folders/share_macOS
即可。
> ideviceinstaller -l
No device found.
此处没有设备
因为:还没插入iPhone到Win中
所以去:
【已解决】Win中插入iPhone希望VMWare中macOS能识别和检测到
继续调试,
此处可以检测到iPhone手机的name了:
期间,再去更新代码:
【已解决】更新检测iPhone中已安装app信息的代码逻辑
继续
此处需要去加上iproxy的端口转发
先去安装iproxy
说是:
brew install --HEAD libimobiledevice
之前好像安装过了?
先去看看
crifanli@crifanlideMac /Volumes/VMware Shared Folders/share_macOS which iproxy /usr/local/bin/iproxy crifanli@crifanlideMac /Volumes/VMware Shared Folders/share_macOS iproxy --help Usage: iproxy [OPTIONS] LOCAL_PORT:DEVICE_PORT [LOCAL_PORT2:DEVICE_PORT2 ...] Proxy that binds local TCP ports to be forwarded to the specified ports on a usbmux device. OPTIONS: -u, --udid UDID target specific device by UDID -n, --network connect to network device -l, --local connect to USB device (default) -s, --source ADDR source address for listening socket (default 127.0.0.1) -h, --help prints usage information -d, --debug increase debug level -v, --version prints version information Homepage: <https://libimobiledevice.org> Bug Reports: <https://github.com/libimobiledevice/libusbmuxd/issues>
然后直接运行即可
crifanli@crifanlideMac / iproxy 8100 8100 Creating listening port 8100 for device port 8100 waiting for connection
不过忘了,还要去运行xcodebuild的test manager才可以。
去试试直接运行命令,结果报错:
【已解决】Win中VMWare中macOS的wda直接用xcodebuild编译报错:error No profiles for were found Xcode couldn’t find any iOS App Development provisioning profiles
然后继续调试,看看代码是否能正常通过wda操作iPhone
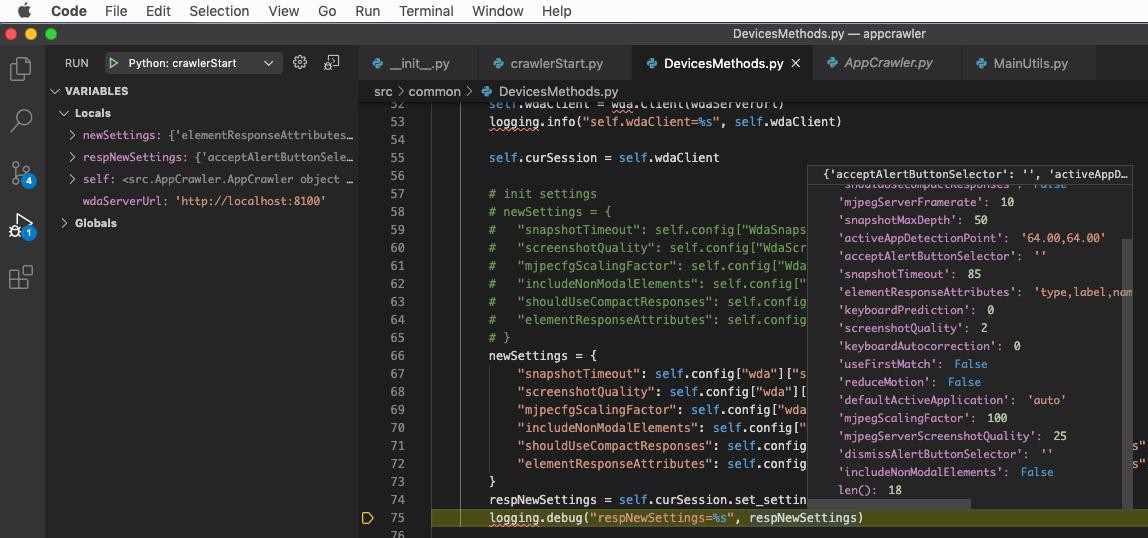
是可以正常操作iPhone了:可以返回新的settings设置参数了。
不过此处试试:
【未解决】Win中尝试访问VMWare中macOS中8100端口的wda服务
然后去:
【已解决】给VMWare中macOS中抓包项目开启mitmdump代理
期间尝试:
【已解决】VSCode中launch.json中能否使用定义变量保存通用路径
调试期间,遇到新弹框:
版本升级提示
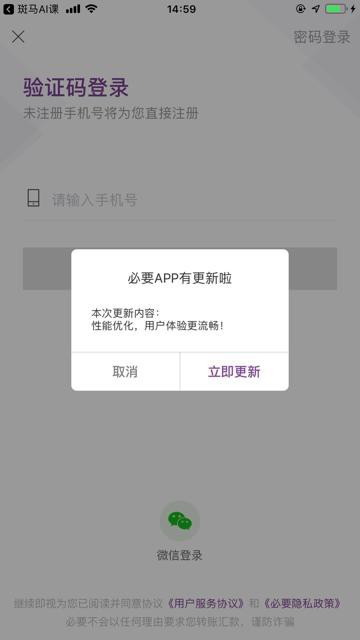
暂时忽略,等以后有空,再遇到,再去支持
然后由于之前设置了5分钟=300秒的最大抓包时长限制
所以很快就超时而停止了:
[200630 15:18:25][MainMethods.py 524] [1/1] NumNewElements=0
[200630 15:18:25][MainMethods.py 424] element c=aaaa_baaa_caab,get total 0 new elements
[200630 15:18:25][MainUtils.py 4228] removed MarkNum c=aaaa_baaa_caab
[200630 15:18:26][MainMethods.py 29 ] stop continue crawling for exceedMaxCrawlingTime: 330 > 300
[200630 15:18:27][AppCrawler.py 88 ] crawl b32ad14560/必要 end, cost time is 394
[200630 15:18:27][DevicesMethods.py 1999] close MitmdumpSave1Start
[200630 15:18:27][crawlerStart.py 170] finish task 20200526_finance_BiYao_app_iOS.txt, cost time is 401 s
对应抓取的内容是:
/Users/crifanli/dev/DevRoot/appcrawler/data/finance/20200526_finance_BiYao/20200526_finance_BiYao_app_iOS.txt
http://bfs.biyao.com/group1/M00/50/33/rBACYVt_cSOAOmxjAAe48rhCtg4229_150x150.jpg|None
http://bfs.biyao.com/group1/M00/4D/2D/rBACYV4ihSmAI4K3AAARPTta164488.png|None
MarkerElement|a=aaaa|{"a": "首页1"}
MarkerElement|b=aaaa_baaa|{"a": "首页1", "b": "热门热门"}
MarkerElement|c=aaaa_baaa_caab|{"a": "首页1", "b": "热门热门", "c": "黑衣舞者黑衣舞者"}
MarkerAccount|b32ad14560/必要|exceedMaxCrawlingTime
MarkerAccount|b32ad14560/必要|end
另外,顺带去参考之前的
【已解决】VSCode中禁止自动检测并设置文件代码格式语言模式
去禁止VSCode中拷贝内容带语法高亮和格式的
去找
~/Library/Application\ Support/Code/User/settings.json
去编辑,加上配置:
crifanli@crifanlideMac /Volumes/VMware Shared Folders/share_macOS cd ~/Library/Application\ Support/Code/User/
crifanli@crifanlideMac ~/Library/Application Support/Code/User ll
total 8
drwxr-xr-x 4 crifanli staff 128B 6 30 15:23 globalStorage
-rw-r--r-- 1 crifanli staff 29B 6 28 10:49 settings.json
drwxr-xr-x 2 crifanli staff 64B 6 19 10:50 snippets
drwxr-xr-x 5 crifanli staff 160B 6 30 10:27 workspaceStorage
crifanli@crifanlideMac ~/Library/Application Support/Code/User vi settings.json
crifanli@crifanlideMac ~/Library/Application Support/Code/User cat settings.json
{
"git.autofetch": true,
"editor.copyWithSyntaxHighlighting": false
}
crifanli@crifanlideMac ~/Library/Application Support/Code/User pwd
/Users/crifanli/Library/Application Support/Code/User以及当前host的win中,也去:
VSCode-》首选项-》
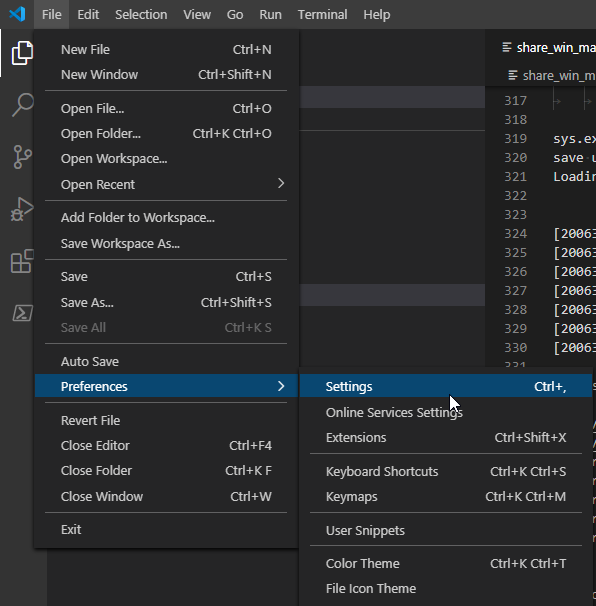
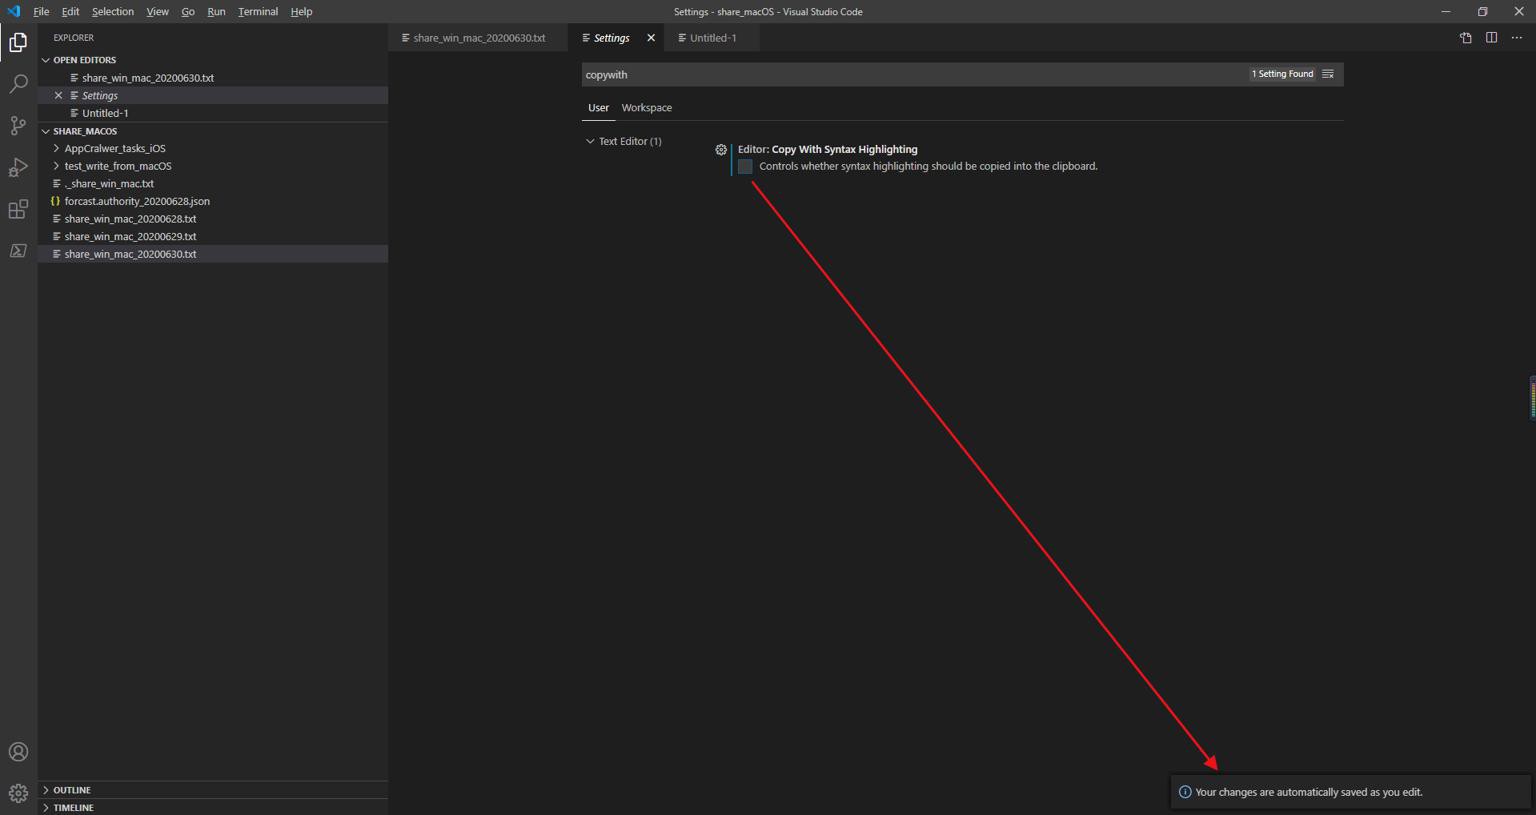
取消勾选了:
- Editor: Copy With Syntax Highlighting
- Controls whether syntax highlighting should be copied into the clipboard.
即可。
然后去增大抓包时长,改为2小时
发现默认已经是对应时间了:
/Users/crifanli/dev/DevRoot/appcrawler/middleware/config.yml
# 最大测试时间:限定单个iOS的app任务最长测试时间,单位:秒
MaxCrawlingTime:
  iOS:
      app: 7200 # 2小时
      weixin: 7200 # 2小时
  Android:
      app: 1800 # 0.5小时
      weixin: 1800 # 0.5小时
iOS的app是2小时
而之前是加了debug代码,现在去注释掉:
/Users/crifanli/dev/DevRoot/appcrawler/src/common/MainMethods.py
    def start_crawler(self):

        # # for debug
        # maxAllowCrawlingTime = 5 * 60
然后继续调试看看
最后抓包,超过2小时限制,而终止:
对应数据文件:
/Users/crifanli/dev/DevRoot/appcrawler/data/finance/20200526_finance_BiYao/20200526_finance_BiYao_app_iOS.txt
http://bfs.biyao.com/group1/M00/A0/87/rBACYV6MO9SAS64vAAZUvy3e9o0495_360x360.webp|None
http://bfs.biyao.com/group1/M01/E3/62/rBACVF7DPnmAX9shAAeQeWqHHtU997_360x360.webp|None
http://bfs.biyao.com/group1/M00/9C/68/rBACYV2QbcWAbwedAAXBJ5B2BZQ537_360x360.webp|None
MarkerElement|c=aaaa_baag_caaa|{"a": "首页1", "b": "品质男装", "c": "羽绒棉服1"}
MarkerAccount|b32ad14560/必要|exceedMaxCrawlingTime
MarkerAccount|b32ad14560/必要|end
是我们要的marker:exceedMaxCrawlingTime
对应log日志:
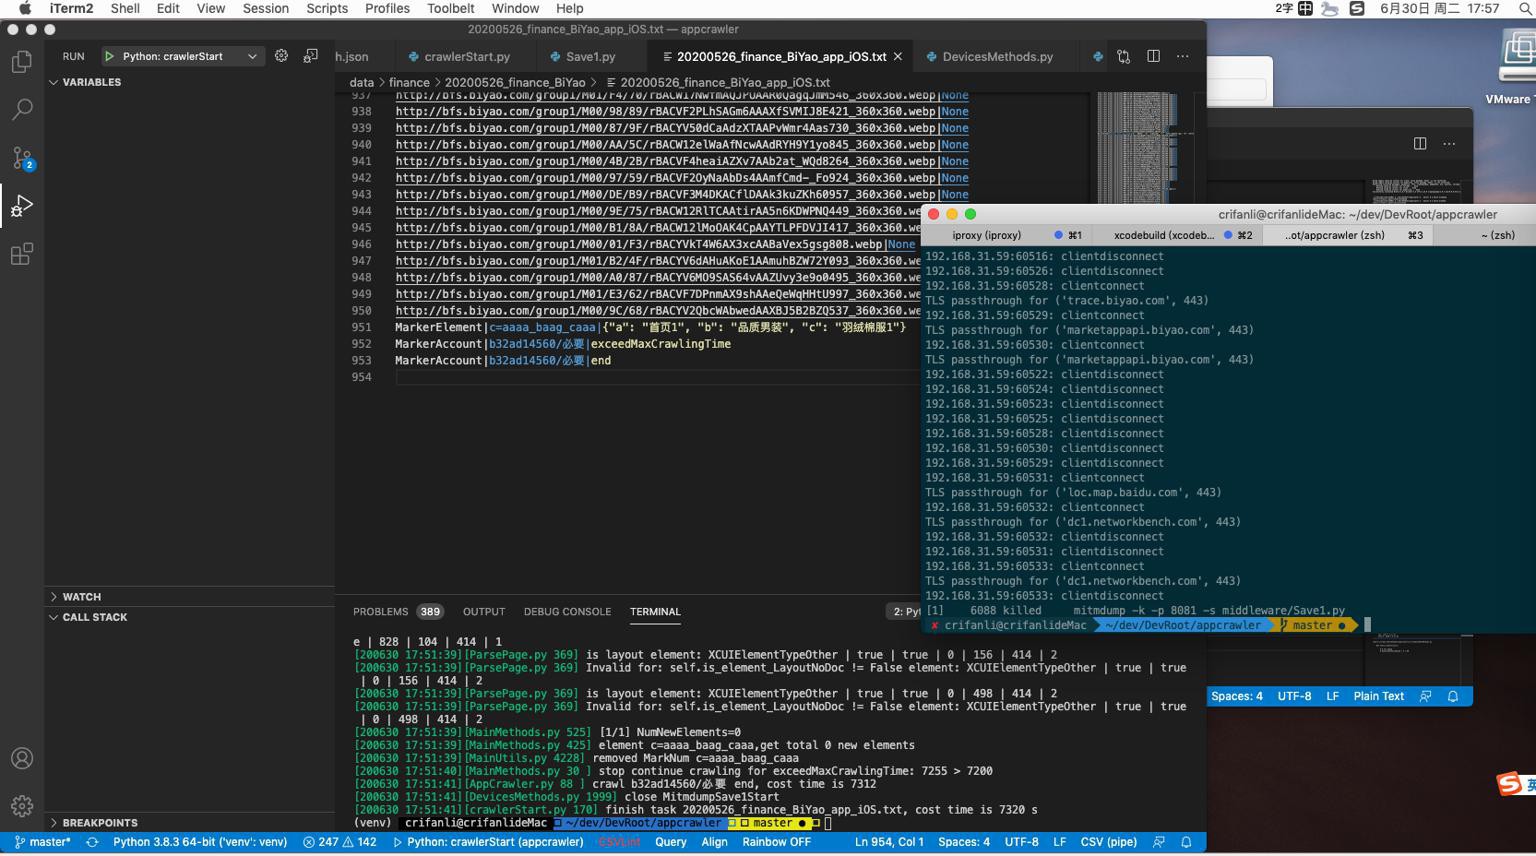
[200630 17:51:39][MainMethods.py 525] [1/1] NumNewElements=0
[200630 17:51:39][MainMethods.py 425] element c=aaaa_baag_caaa,get total 0 new elements
[200630 17:51:39][MainUtils.py 4228] removed MarkNum c=aaaa_baag_caaa
[200630 17:51:40][MainMethods.py 30 ] stop continue crawling for exceedMaxCrawlingTime: 7255 > 7200
[200630 17:51:41][AppCrawler.py 88 ] crawl b32ad14560/必要 end, cost time is 7312
[200630 17:51:41][DevicesMethods.py 1999] close MitmdumpSave1Start
[200630 17:51:41][crawlerStart.py 170] finish task 20200526_finance_BiYao_app_iOS.txt, cost time is 7320 s
也是对的。
至此,终于完成Win中VMWare中macOS中抓包项目的调试了。
【总结】
此处Win中VMWare中macOS中,去调试抓包项目,大概步骤是:
1.更新wda的__init__.py文件
把之前0.72的optimized的wda
/Users/crifanli/dev/DevRoot/appcrawler/iOSAutomation/wdaTest/optimized/wda/v0.7.2/__init__v0.7.2_merged.py
拷贝到
/Users/crifanli/dev/DevRoot/appcrawler/venv/lib/python3.8/site-packages/wda/__init__.py
2.创建缺失的文件夹:
- logging
- task
- data
3.拷贝之前或新建新的task任务文件(和文件夹)
4.安装和恢复MongoDB数据
详见:
【已解决】给Win中VMWare中macOS安装MongoDB和恢复MongoDB数据
重点:只需要恢复forecast.authority的(有限的2,3条)数据即可。
5.安装Mac中相关工具:
- 检测设备id的:idevice_id
- brew install ideviceinstaller
- 端口转发的:iproxy
- 安装:brew install –HEAD libimobiledevice
- 运行:
- iproxy 8100 8100
6.把iPhone插入Win中,希望macOS中能识别
详见:
【已解决】Win中插入iPhone希望VMWare中macOS能识别和检测到
重点:
设置-》硬件-》USB控制器:
- USB兼容性:改为 USB 2.0
- 勾选:显示所有USB输入设备
再重启macOS,再去连接iPhone,macOS即可检测到。
7.确保xcodebuild能正常运行
所以要先去Xcode项目运行一次WebDriverAgent.xcodeproj即可。
其中需要先登录自己的Apple开发者账号,才能下载provision file和自动code sign,才能正常编译和test测试项目。
之后即可正常:
xcodebuild -project WebDriverAgent.xcodeproj -scheme WebDriverAgentRunner -destination "id=`idevice_id -l | head -n1`" test
详见:
【已解决】Win中VMWare中macOS的wda直接用xcodebuild编译报错:error No profiles for were found Xcode couldn’t find any iOS App Development provisioning profiles
然后继续调试,看看代码是否能正常通过wda操作iPhone
8.开启mitmdump代理
mitmdump -k -p 8081 -s middleware/Save1.py
重点:macOS虚拟机网络,不要NAT,要改为 桥接
详见:
【已解决】给VMWare中macOS中抓包项目开启mitmdump代理
至此,即可正常的顺利的调试项目了。
转载请注明:在路上 » 【已解决】Win中VMWare中macOS中调试抓包项目