折腾:
【未解决】用Python计算整个团队的当期业绩
期间,希望实现:

的树结构
且每个节点,带额外数据,以便于辅助计算
python tree
python tree库
好像也可以?
去看看
节点Node是否支持 传入特定的数据
还会支持:Visualization 画图出来
* Node: a simple tree node with at least a name attribute and any number of additional attributes.
Node中允许传入,任意的其他数据
然后去试试。
其中,感觉,先用,数据量不大的,简单的数据,去测试看看逻辑是否正确
如果没问题,再换用真实的大量的数据,不容易出错
且看到
中的:
descendants
All child nodes and all their child nodes.
好像就是方便后续计算业绩
算了,不用demo数据了,直接用真实数据吧。
现在问题转换为:
创建Node节点了。
先去安装库:
pipenv install anytree
log
master pipenv install anytree Courtesy Notice: Pipenv found itself running within a virtual environment, so it will automatically use that environment, instead of creating its own for any project. You can set PIPENV_IGNORE_VIRTUALENVS=1 to force pipenv to ignore that environment and create its own instead. You can set PIPENV_VERBOSITY=-1 to suppress this warning. Installing anytree... Adding anytree to Pipfile's [packages]... ✔ Installation Succeeded Pipfile.lock (6415b7) out of date, updating to (bed629)... Locking [dev-packages] dependencies... Locking [packages] dependencies... Building requirements... Resolving dependencies... ✔ Success! Updated Pipfile.lock (bed629)! Installing dependencies from Pipfile.lock (bed629)... 🐍 ▉▉▉▉▉▉▉▉▉▉▉▉▉▉▉▉▉▉▉▉▉▉▉▉▉▉▉▉▉▉▉▉ 0/0 — 00:00:00
再去写代码
另外,为了图形化显示,还是去安装库:
>>> # graphviz needs to be installed for the next line!
不过先去文字形式显示
先去调试代码
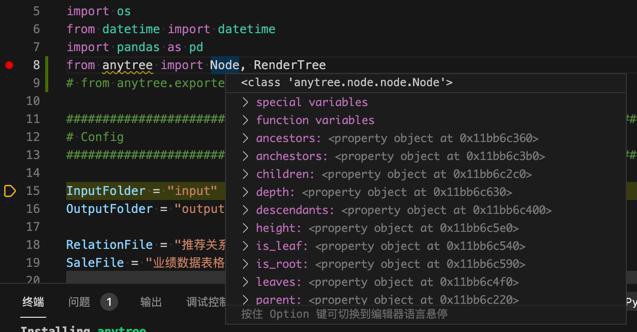
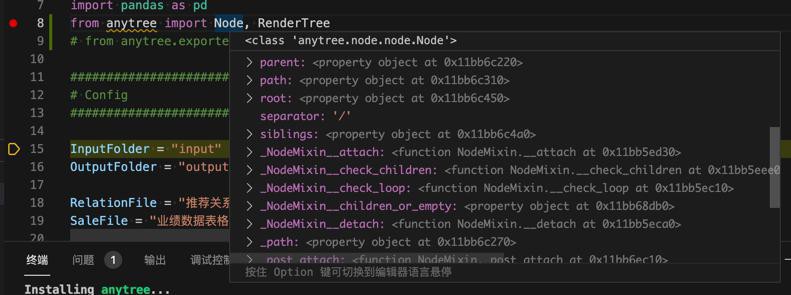
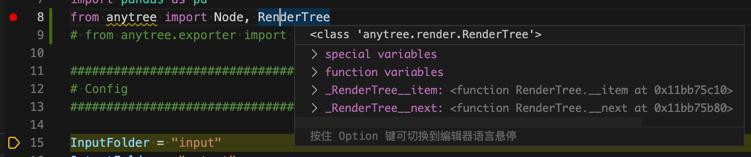
可以从导入的Node中看到,有哪些函数和属性
此处面对特殊情况:
【已解决】anytree创建节点期间如何定位查找某个节点
写了代码,调试半天,结果是:
此处数据,生成后,竟然还有93个根节点。。。
而不是希望的:只有一个根节点
本来,打算放弃用这个tree的
后来想到:可以加个虚拟的,不用的 空节点
比如id即name是:fakeroot0000
那去加上试试:
【已解决】anytree中打印出Tree树的结构文字版和图片版
然后可以继续处理,给Node加上money了。
【总结】
最后用代码:
for curParentId, curChildIdList in recommandRelationDict.items():
print("curParentId=%s, curChildIdList=%s" % (curParentId, curChildIdList))
# curParentId=a12341234123, curChildIdList=['a12341234121']
existedParentNode = findNode(curParentId)
curRootNode = None
if existedParentNode:
curParentNode = existedParentNode
curRootNode = curParentNode
else:
# curParentNode = Node(curParentId)
curParentNode = createNode(curParentId)
curRootNode = curParentNode.root
if not curRootNode:
curRootNode = curParentNode
gRootNodeList.append(curRootNode)
print("curParentNode=%s" % curParentNode)
# curParentNode=Node('/a12341234123')
for eachChildId in curChildIdList:
existedChildNode = findNode(eachChildId)
if existedChildNode:
if not existedChildNode.parent:
existedChildNode.parent = curParentNode
curChildNode = existedChildNode
else:
# curChildNode = Node(eachChildId, parent=curParentNode)
curChildNode = createNode(eachChildId, nodeParent=curParentNode)
print("curChildNode=%s" % curChildNode)
# Node('/a12341234123/a12341234121', personalSaleMoney=17226.72636907)
# curChildNode=Node('/aa1234512333/aa1234512334')
updateRootNodeList(curChildNode)
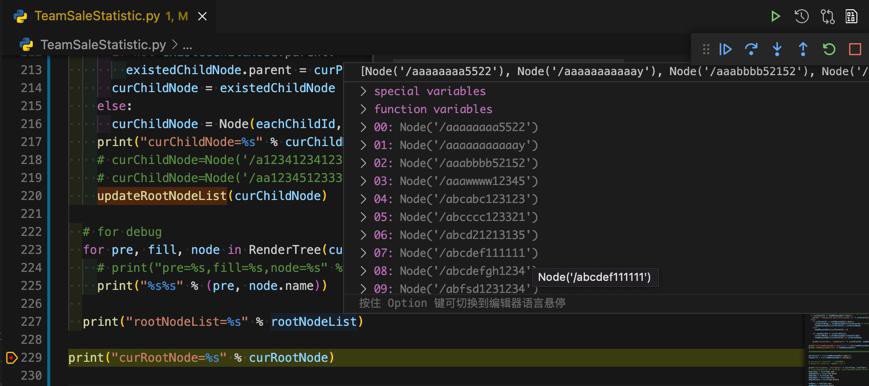
# # for debug
# for pre, fill, node in RenderTree(curRootNode):
# # print("pre=%s,fill=%s,node=%s" % (pre, fill, node))
# print("%s%s" % (pre, node.name))
# print("gRootNodeList=%s" % gRootNodeList)
print("curRootNode=%s" % curRootNode)去生成各个节点
由于有很多top的节点,所以加了个假的根节点
### add topest fake root node


# fakeRootNode = Node(FakeRootNodeId)
fakeRootNode = createNode(FakeRootNodeId)


for eachFinalRootNode in gRootNodeList:
  if eachFinalRootNode.parent:
    print("eachFinalRootNode=%s" % eachFinalRootNode)
  else:
    eachFinalRootNode.parent = fakeRootNode
后续去调试:
def dbgPrintTopNodeList():
  global gRootNodeList


  # for debug
  print("Output each top node relation to image ...")
  for curTopNode in gRootNodeList:
    # # for debug
    curNodeRealtionFile = "Relation_%s_%s.png" % (curTopNode.name, gCurDateStr)
    curNodeRealtionImg = os.path.join(gCurOutputFolder, curNodeRealtionFile)
    # 'output/20210615/Relation_aaaaaaaa5522_20210615.png'
    print("generating %s" % curNodeRealtionImg)
    DotExporter(curTopNode).to_picture(curNodeRealtionImg)


def dbgPrintTreeToJson(curNode, outputFilename=None):
  # for debug
  print("Output all node relation to json...")
  if not outputFilename:
    outputFilename = "RelationAll_%s.json" % gCurDateStr
  curOutputJson = os.path.join(gCurOutputFolder, outputFilename)
  jsonExporter = JsonExporter(indent=2, sort_keys=True)
  treeJsonStr = jsonExporter.export(curNode)
  treeJson = json.loads(treeJsonStr)
  saveJsonToFile(curOutputJson, treeJson)


def dbgPrintTree(curNode):
  # for debug
  for pre, fill, node in RenderTree(curNode):
    # print("pre=%s,fill=%s,node=%s" % (pre, fill, node))
    print("%s%s" % (pre, node.name))


  dbgPrintTreeToJson(curNode)


  # # for debug
  print("Output all node relation to single image ...")
  outputImgFile = "RelationAll_%s.png" % gCurDateStr
  curOutputImg = os.path.join(gCurOutputFolder, outputImgFile)
  DotExporter(curNode).to_picture(curOutputImg)


gRootNode = fakeRootNode


dbgPrintTree(gRootNode)
dbgPrintTopNodeList()

# dbgPrintTreeToJson(gRootNode)
即可输出树状结构:
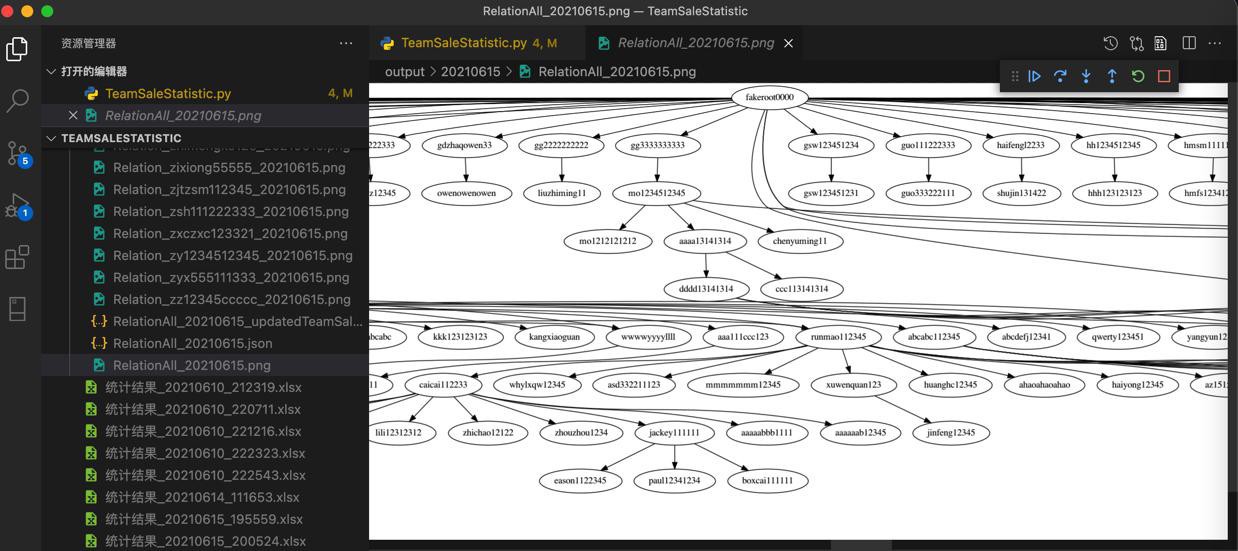

由此,构建出了,需要的,带字段属性的tree。
用于后续其他计算。