【背景】
得知有个叫FrameAlyst的HART协议分析工具。
现在打算去试试。
【折腾过程】
1.去找到主页中的下载页面:
http://borst-automation.com/downloads/downloads.htm
然后看到FrameAlyst是HartTools中的一部分。
所以要先去下载HartTools。
当然系统是win7 x64,所以去下载64位的:
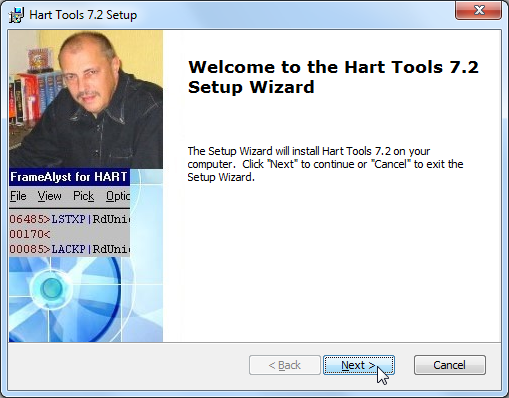
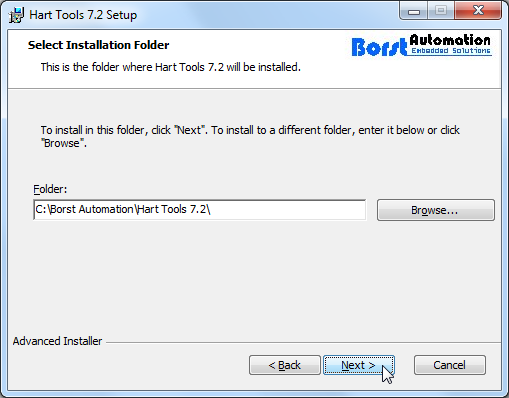
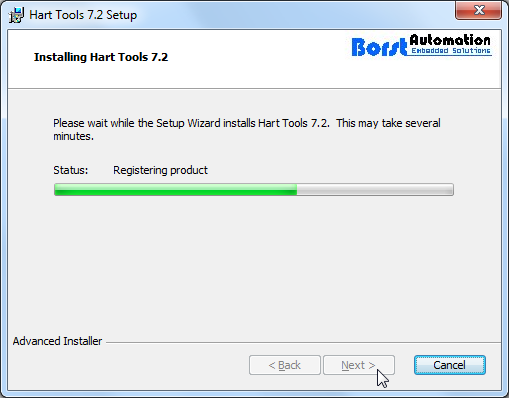
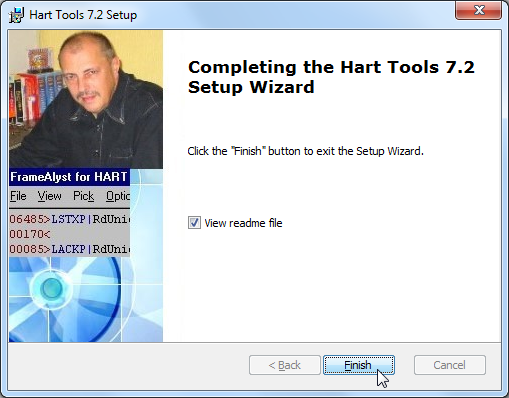
2.然后去安装Setup_HartTools_7.2-64.msi:
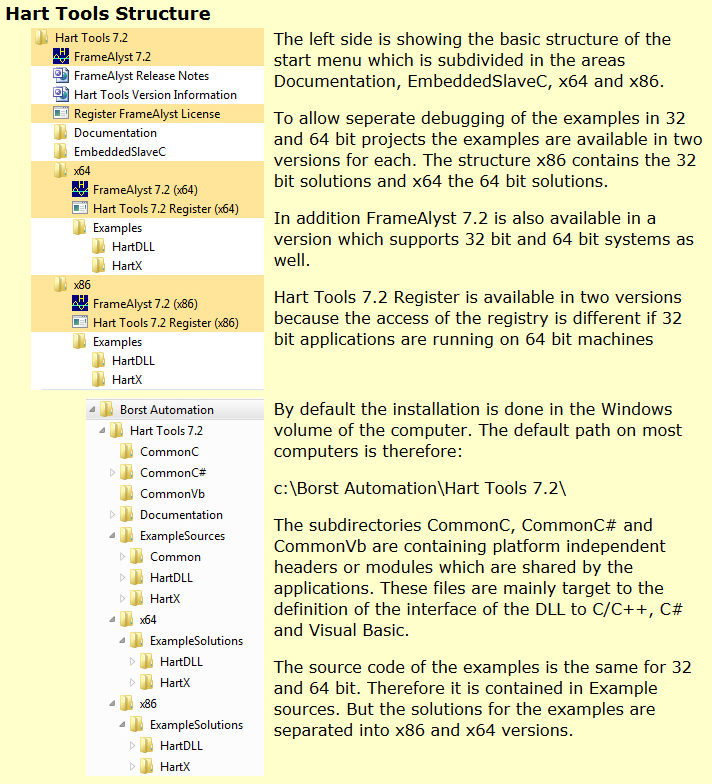
3.然后看看帮助文件:
C:/Borst Automation/Hart Tools 7.2/ReadMe_HartTools.htm
Hart Tools Version Update Information Version 7.2.0, July 8th, 2012 Visual Studio Requirements The examples are based on Visual Studio 2010. Using the DLL When using the DLL the first call to the DLL has to be a call of the function BHDrv_ValidateLicense. HartDLL.BHDrv_ValidateLicense(new StringBuilder("Valid User Name"),
new StringBuilder("Valid License Key"));The correct user name and the license key are provided in the user license certificate. HartDLL 7.2 This is the first release of the Hart driver to this base version. 7.2 is the second migration in the direction of Hart 6 and Hart 7. Target 64 Bit The DLL and the example applications are fully compatible to 32 bit and 64 bit. |
4.然后再去看看软件如何使用。
注:
由于当前台式机(竟然)没有串口,只能用USB转串口了:
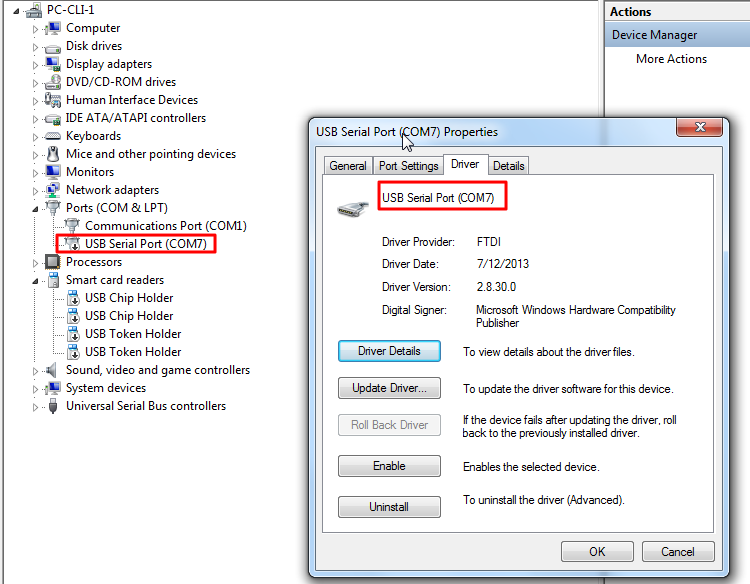
先用USB转串口弄出来对应的COM7
(上面被禁用了)
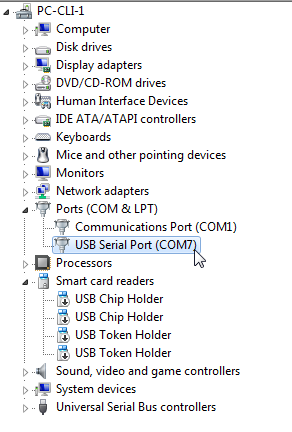
所以再去启用:
然后,再接到HART猫上。
HART猫再接到HART设备上。
5.启动FrameAlyst 7.2软件
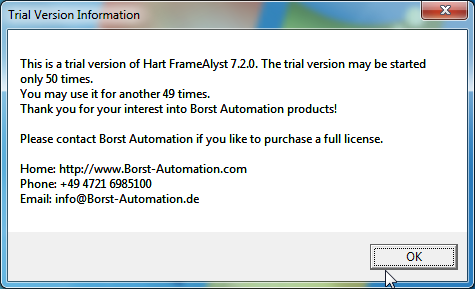
会有提示:
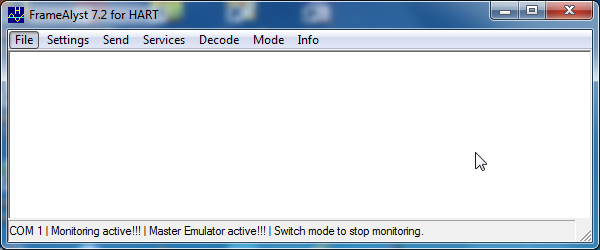
启动后,FrameAlyst主界面:
6.再去看使用说明:
http://borst-automation.com/Hart-Tools/FrameAlystNotes/FrameAlystNotes.htm
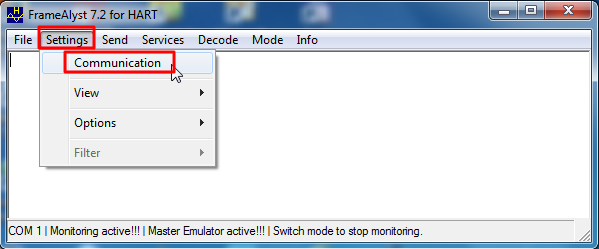
去配置:
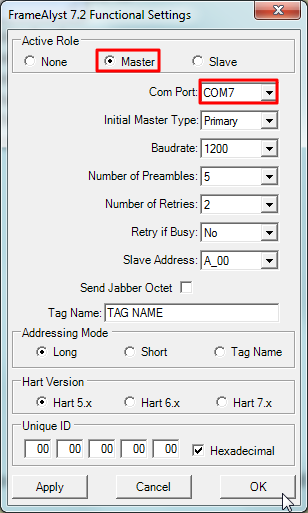
然后设置为COM7:
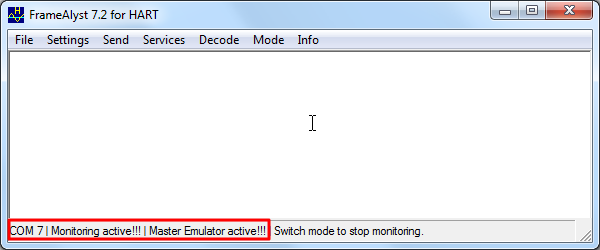
然后就可以看到启用OK了:
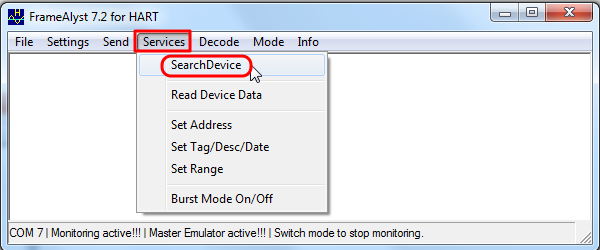
7.然后再去扫描HART设备:
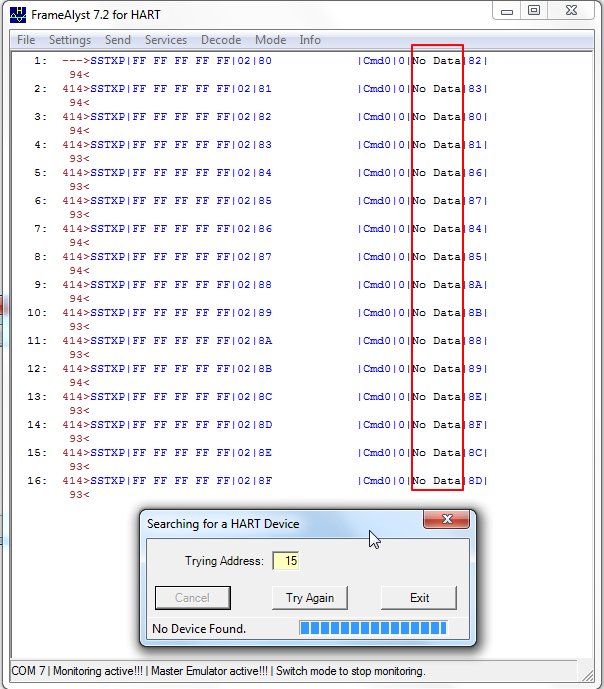
此时,由于物理上没连接到HART设备,所以没扫描到设备:
去接上那个HART设备:Yamatake DSTJ300
然后再去扫描:
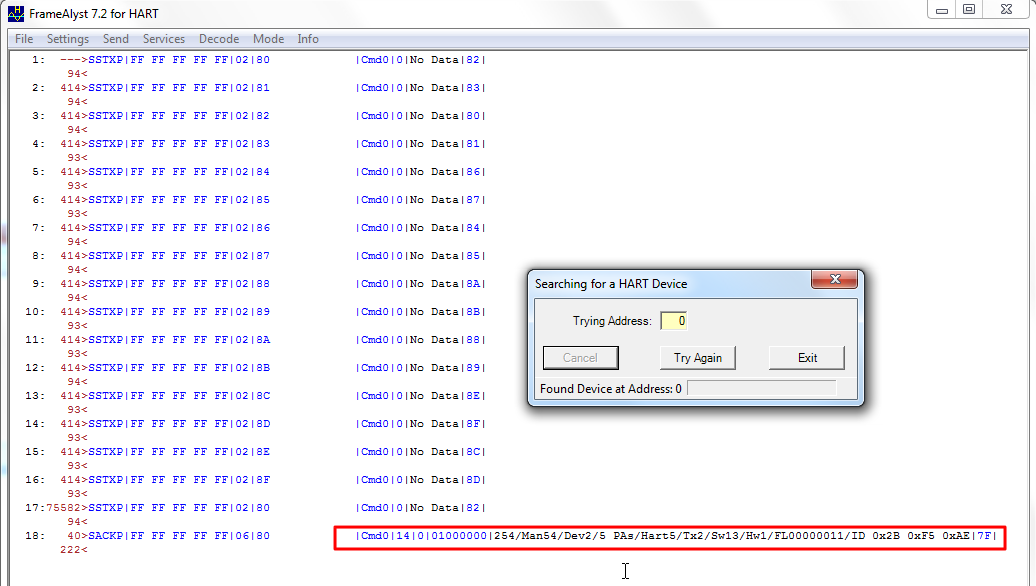
就可以找到设备了:
对应的,cmd0,有返回数据,而且看起来就是正常的数据。
注:该cmd 0所返回的数据,后续可以用程序去解码,而得到人类可读的信息的。
【总结】
如此,就可以完成用FrameAlyst去调试HART设备了。
转载请注明:在路上 » 【记录】下载试用HART协议分析工具FrameAlyst
